If you're looking for a simple way to auto forward emails from Gmail, this guide will walk you through the process step by step.
Setting up automatic forwarding in Gmail lets you seamlessly send incoming messages—such as newsletters, updates, or important notifications—to another email address. This is ideal for users who want to automate email workflows, keep all their newsletters in one place, or leverage AI-powered tools for email summarization like Remy. Follow the instructions below to quickly enable Gmail's auto forwarding feature and streamline your inbox management in three easy steps.
Step 1: Add a gmail forwarding address
- Open Gmail in your web browser
- Click the Settings gear icon in the top right
- Select "See all settings"
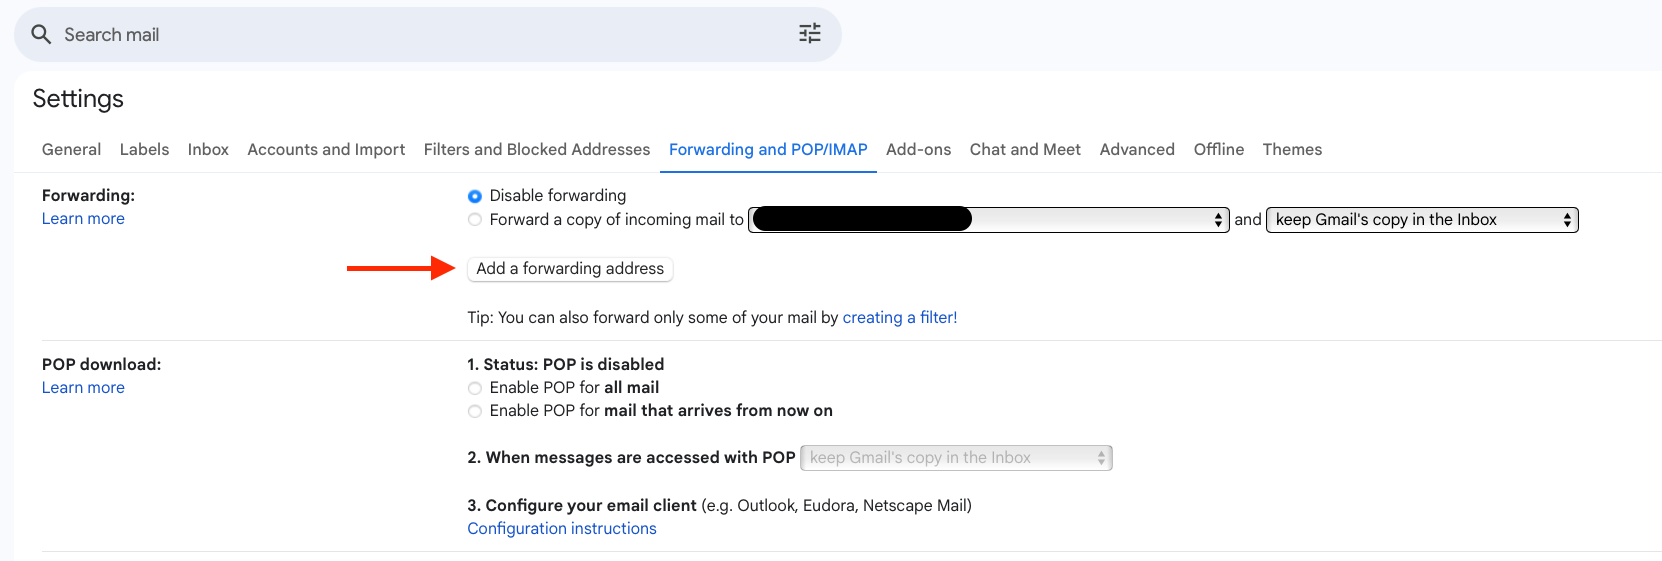
- Navigate to the "Filters and Blocked Addresses" tab
- Click on "Add a forwarding address"

- Next you are being asked to enter the address of your forwarding address
- Finally Gmail will send you a confirmation email to your forwarding address. You need to click the link in this email and you are set.
Step 2: Create a new Gmail filter
- Click "Create a new filter"
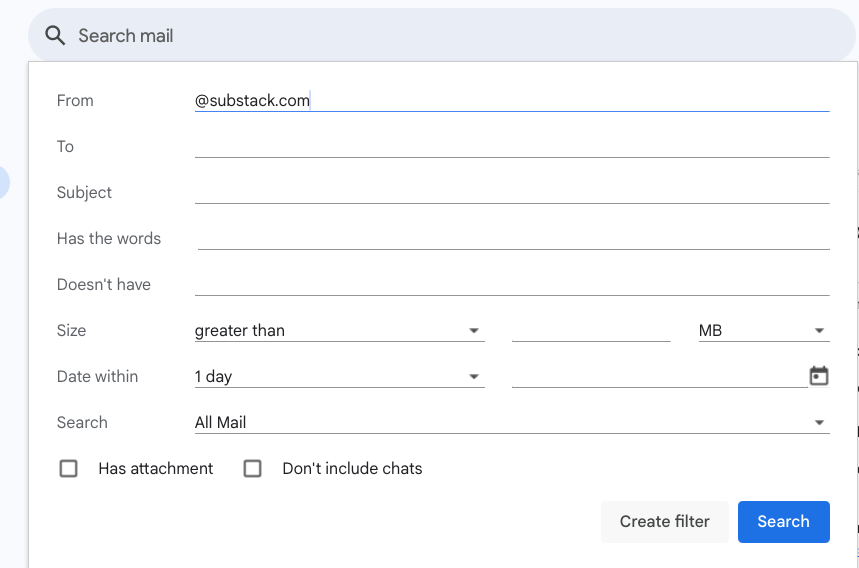
- In the filter criteria, you can set up rules based on:
- From: Specific newsletter senders (e.g.,
noreply@newsletter.comor just a domain e.g.substack.com) - Subject: Contains specific keywords (e.g.,
newsletter,digest) - Has the words: Newsletter-specific terms

Pro Tip: To catch most newsletters with a single filter, use unsubscribe in the "Has the words" field. This simple keyword captures approximately 99% of newsletters since most legitimate newsletters include an unsubscribe link to comply with email regulations.
Step 3: Configure forwarding action for your Gmail filter
- Click "Create filter"
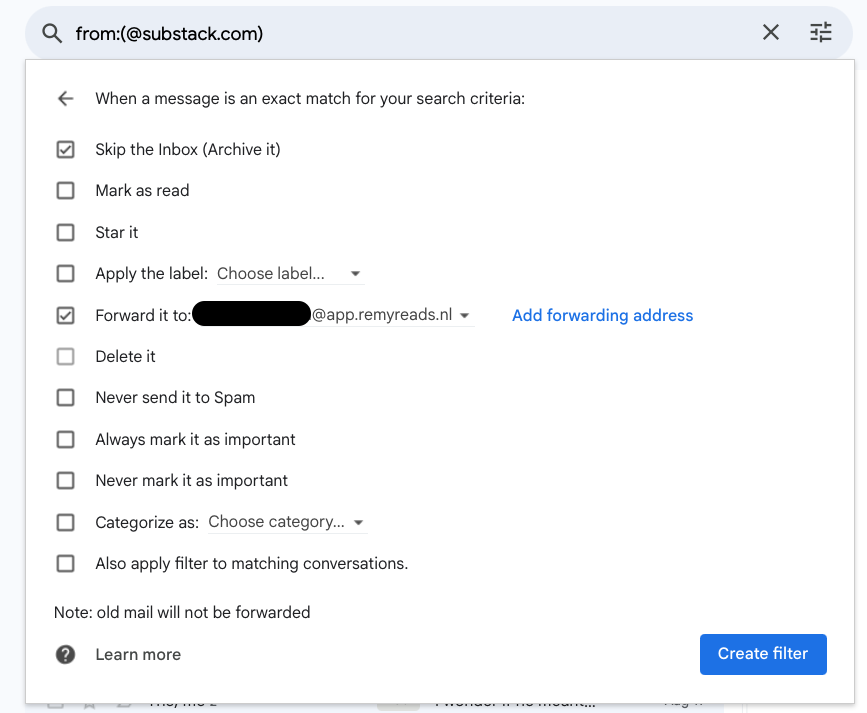
- Check the box for "Forward it to"
- Select the forwarding address we created in step 1
- Optionally check "Skip the Inbox" to keep your Gmail clean. This way the original email will archived.
- Click "Create filter"

Create Gmail filters more effective for several emails
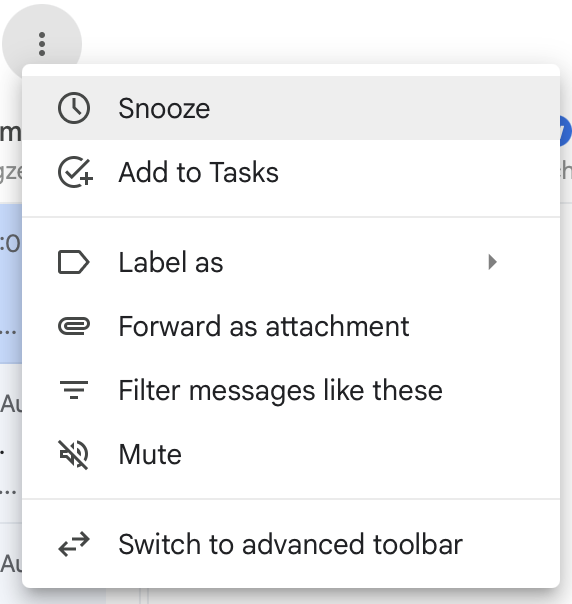
Instead of creating each Gmail filter one by one by using the steps above, you can also create filters for multiple emails directly from your inbox view. All you have to do is select the emails in your inbox, then click on the three dots above. Select "filter messages like these" and Gmail will create a filter based on the emails you selected. All you have to do is continue with step 3.

Conclusion
You're all set! In some cases Gmail might show you a warning above your inbox for a couple of days, to make sure you didn't set up a forwarding action by mistake.